
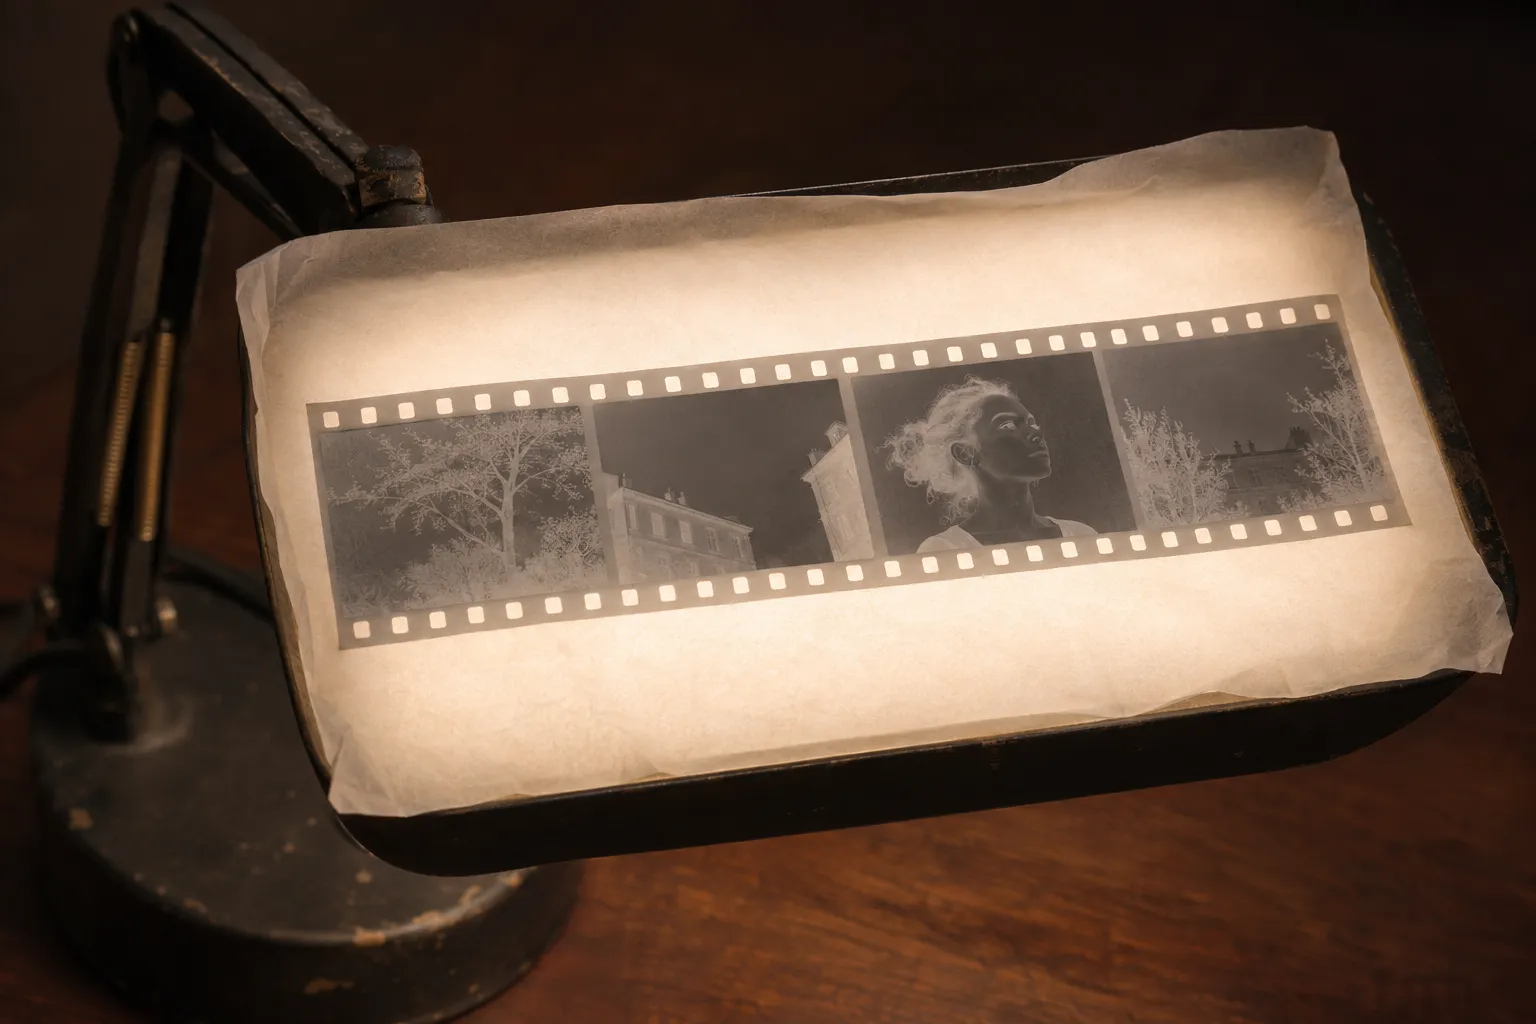
Not every piece of film inverts the same way. A black and white negative takes one simple step. A color negative needs one extra step, and skipping it is why so many home scans come out blue. Slide film needs no inversion at all.
Tell your film apart
| Film | What it looks like on the light | What you do |
|---|---|---|
| Color negative | Orange base, colors reversed: skies light, skin dark blue-green | Remove the orange mask, then invert |
| Black and white negative | Clear or grey base, grey image, light and dark reversed | Invert, then set levels |
| Chromogenic black and white | Orange, brown or purple-grey base, grey image | Invert like color, then remove color |
| Slide (reversal) | A normal, positive picture on a dark border | No inversion |
Look at the edge print too: it names the film. Read how to read the markings on the film edge.
Black and white negatives: one channel, simple
A black and white negative is metallic silver in gelatin. Where the scene was bright, more silver formed and the film is darker. The base is clear or a neutral grey.
To invert it:
- Turn the scan to grey (drop the color), so any tint from the light goes away.
- Read the bare film between frames: that becomes black.
- Read the densest highlight: that becomes white.
- Shape the midtones with a gentle curve.
Because the image is a single layer of silver, one channel carries everything. The only thing to watch is the base: on some films it reads very light, almost as bright as the light behind it, so don't rely on brightness alone to find it.
Color negatives: the orange mask
Color negative film holds three dye layers: cyan, magenta and yellow, each recording one part of the spectrum. Those dyes are not perfect; the cyan and magenta dyes also absorb some light they shouldn't. Film makers correct for that with colored masking couplers that stay in the film after development. The result is the orange base you see on every color negative.
Press invert in an editor and every color flips to its opposite. Orange flips to blue-cyan, and your picture sits under a cold cast with flat contrast.
The fix is to work in density, channel by channel:
- Read the film base. Sample the bare orange film between two frames.
- Set it as black in each channel. Red, green and blue each get their own black point from the base. The mask cancels out.
- Set the white point in each channel from the densest part of the frame.
- Apply a print curve. Density is already a log scale, so a gentle curve lands the midtones.
This is what the color negative mode does in our free negative to positive converter, and what happens to every frame you scan in Backlit, where the base comes from the bare film of the whole strip.
Chromogenic black and white
Some black and white films are made like color film and developed in the same chemistry as color negatives. They produce a dye image, not silver, on a tinted base. Treat them as color: remove the base, invert, then drop the color. You get smoother grain than with plain grey inversion.
Slide film
Slide film is developed into a positive. Hold it to the light and you see the picture as it was. Photograph it over the light and adjust exposure and white balance; never invert it. In Backlit, pick a slide film look on the roll.
Dense, thin and expired film
- Dense negatives (overexposed) look dark on the light. They hold plenty of detail; give them more light and lower exposure on your camera so the film base doesn't blow out.
- Thin negatives (underexposed) look pale. Expect grain and weak shadows; keep contrast moderate.
- Expired color film often shifts toward one color and fogs. Fix the cast per channel after the inversion.
Pick the look of the film you shot
Two color negatives inverted the same way can still look different from the prints you remember, because labs printed each stock with its own palette. In Backlit you pick the stock you shot, from Portra 400 to Gold 200 or Tri-X 400, and your frame prints in that style. The look is a starting point; your lab's original print had its own touch too.