
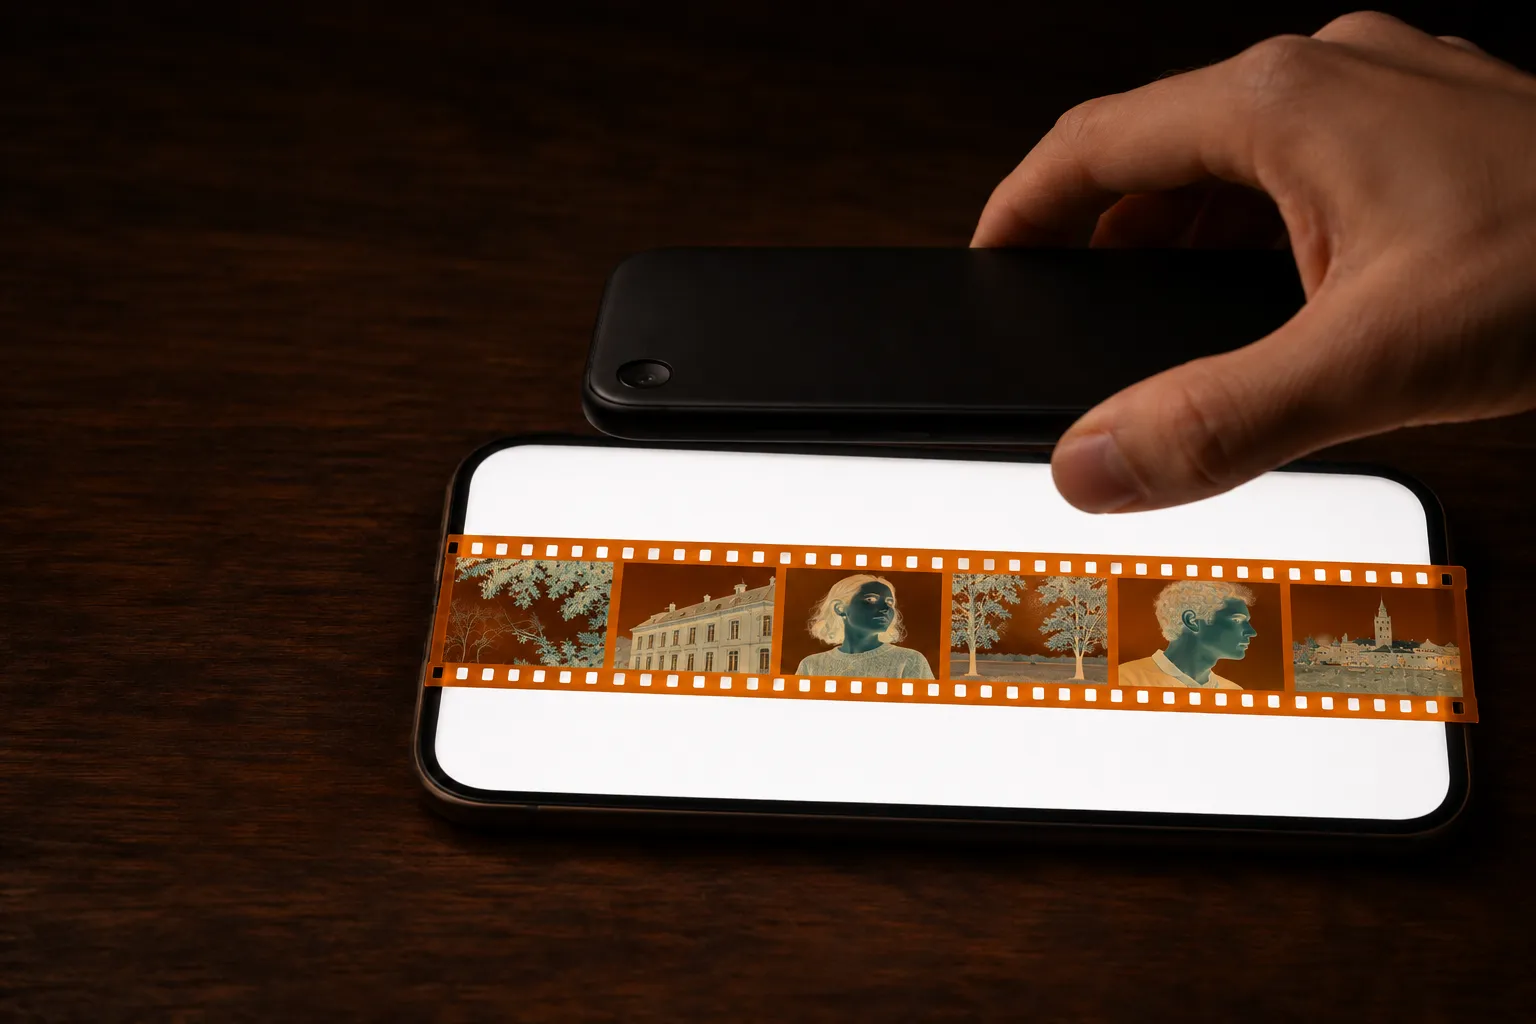
To scan film negatives with your phone, you need three things: an even white light behind the film, your phone held flat and still above it, and a way to turn the negative into a positive with the orange film base removed. You can do all of it at a kitchen table in an evening, with no scanner.
This guide walks you through the setup, the camera settings that help, and the step that decides whether your colors look right.
What you need
- Your negatives, in strips or sleeves. Handle them by the edges, and wear cotton gloves if you have them.
- An even white light. A tablet or a spare phone with a plain white screen is the easiest. A frosted window or a desk lamp under tracing paper works too. Read how to use a phone or tablet as a light pad for the details.
- Your phone. Any phone from the last few years has a camera sharp enough for 35mm and 120 film.
- Something to keep the film flat: two strips of low-tack tape, or a clean sheet of glass.
- A way to develop the picture: a film scanning app like Backlit, our free negative inverter, or an editor where you invert and adjust curves by hand.
Set up your light
- Clean the light's surface with a dry microfiber cloth. Every speck on it shows up in your scan.
- Set the screen to full brightness and show plain white. On a phone or tablet, turn off Night Shift, True Tone or any warm-screen mode, so the white stays neutral.
- Turn off the room lights and close the curtains. Light from above reflects off the shiny side of the film and washes out the picture.
- Lay the strip on the light with the emulsion side (the duller side) facing down, so the edge numbers read the right way round from above.
If you see a faint grid of pixels through the film in your test shot, lift the film off the screen by a few millimetres or slip a sheet of tracing paper underneath. The grid comes from the screen's pixels, and a little distance blurs it away.
Hold your phone the right way
Hold the phone flat, parallel to the film. When the phone tilts, one end of the strip sits closer than the other and goes soft, and the frames turn into trapezoids.
- Distance: start with the strip filling most of the screen, with a thin band of light around it. That light around the film matters: it gives you a clean reading of the bare film for the color step.
- Lens: use the main 1x lens. The ultra-wide lens bends the edges, and the digital zoom loses detail. On phones with a macro mode, try it on a single frame, but check that the whole frame stays sharp.
- Steady: rest your elbows on the table, or prop the phone on two stacks of books with the camera over the gap. A tripod with a phone clamp pointing down works well for big batches.
- Shadow: keep your head and the phone from casting a shadow on the light. With the room lights off this rarely happens.
Use these camera settings
- Lock focus and exposure. On iPhone, press and hold on the film until you see AE/AF Lock. On Android, tap the film and use the lock option your camera app offers. Locking stops the camera from hunting between frames.
- Pull exposure down a little if the light around the film blows out to pure white and the thin parts of the film look washed. You want detail in both the film base and the densest areas.
- Turn off the flash and any beauty or portrait filters.
- Shoot at full resolution. Skip the 12 MP crop if your phone offers 24 or 48 MP; the extra pixels hold the grain.
Turn the negative into a photo
Here is where most phone scans go wrong. A negative stores the scene upside down in brightness, and color film adds an orange mask on top. If you only press invert in a photo editor, you get a blue-cyan picture with flat contrast.
The right way reads how dense the film is in each color channel, relative to the bare film:
- Find the film base: the bare orange film between two frames, or the edge next to the sprocket holes.
- Set that base as pure black, channel by channel. The orange mask drops out.
- Set the densest part of each channel as white. The colors balance.
- Shape the tones with a gentle curve, the way a print lands on photo paper.
In our free negative to positive converter you run exactly these steps in your browser: tap the bare film, then fine-tune exposure and each color channel. For black and white film the same idea works with one channel; read color vs black and white negatives for the differences.
Scan a whole strip at once with Backlit
Shooting frame by frame works, but a 36-exposure roll takes a while. In Backlit you hold your phone over the whole strip and see every frame outlined and numbered live on the camera screen. Hold still and the shot takes itself. You get each frame cut out, straightened if the strip lay at a slant, developed with the film base read from the bare film between frames, and turned upright when a face or the sky shows which way is up.
Then you pick the film stock you shot for its look, switch on Enhance to calm grain and lift dust, and circle the keepers you want to save. Everything runs on your phone; your photos never leave it.
Fix the common problems
| What you see | Why | Fix |
|---|---|---|
| Blue or cyan cast | The orange mask was inverted with the picture | Pick the film base before inverting |
| Faint grid or lines | The screen's pixels show through | Lift the film a few millimetres or add tracing paper |
| Soft corners | The phone tilted or the film curled | Hold the phone flat, tape or glass the film down |
| Bright spot or glare | Room light reflects on the film | Turn off the room lights |
| White specks | Dust on the film or the light | Blow the film off, wipe the light, use dust removal |
| Flat, grey photo | Exposure too bright on the film | Lower exposure before you shoot |
Store your negatives after scanning
Put each strip back into an archival sleeve, label the sleeve with the date and place, and keep the sleeves upright in a box in a cool, dry room. Your scans give you the photos; the negatives stay the original. Keep both.