
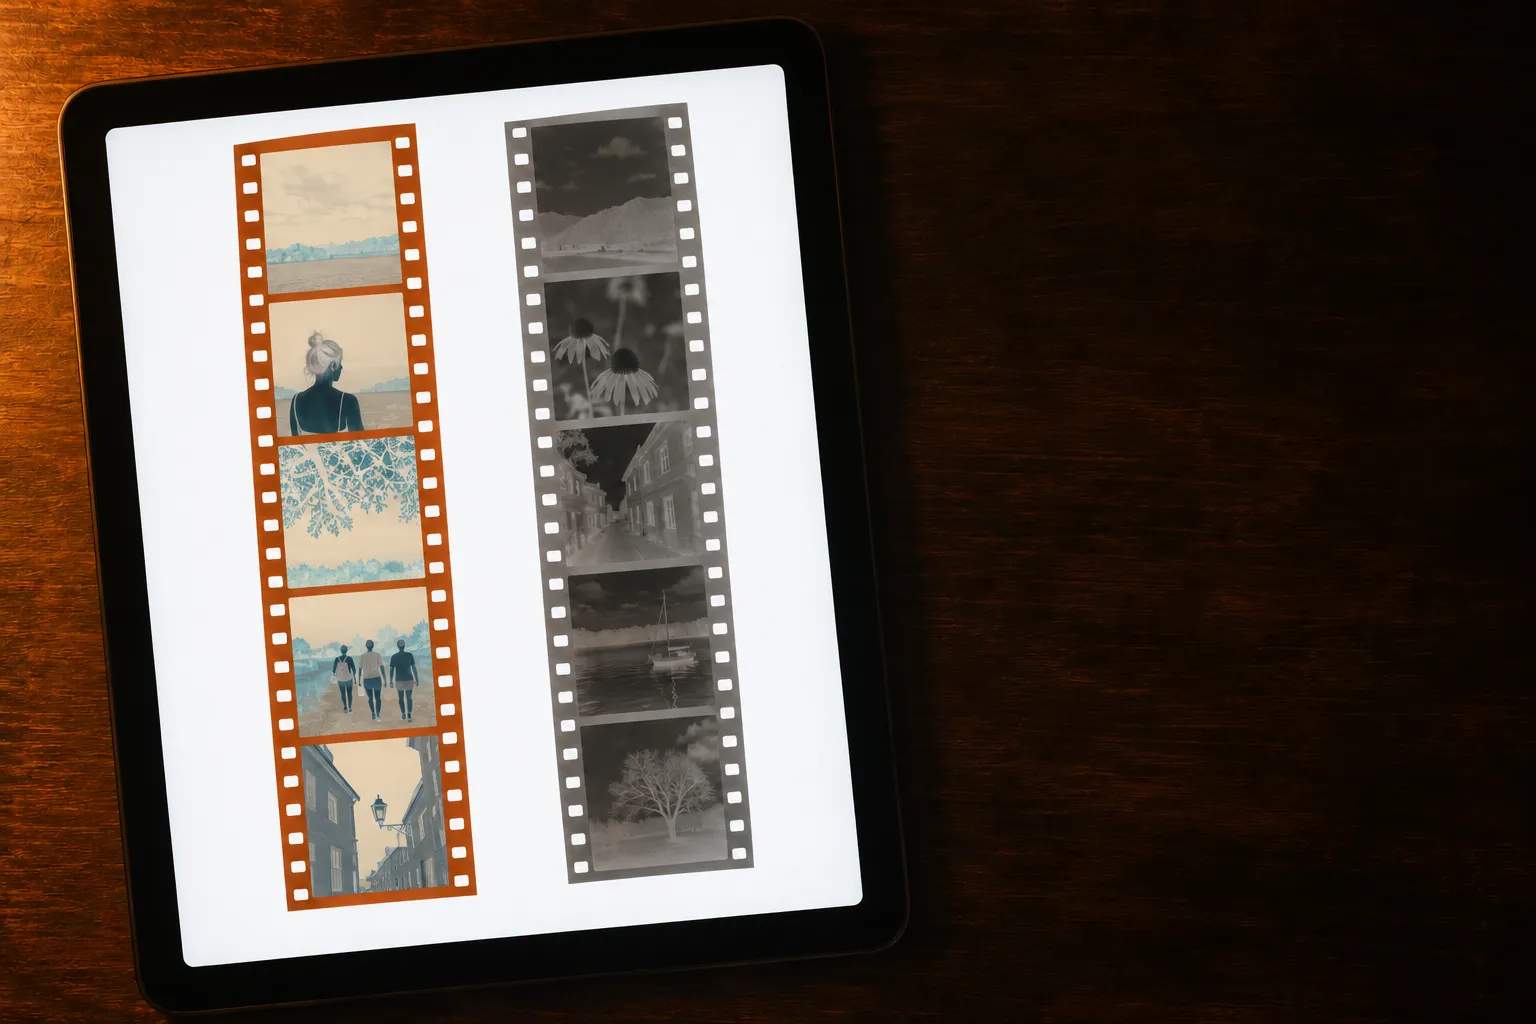
Any phone or tablet makes a good light pad for film negatives. The screen is flat, bright and even, and you probably have one in a drawer. Set it up right and it beats most cheap LED light boxes.
Pick your screen
- A tablet fits a full strip of six 35mm frames or a 120 strip in one go. It is the easiest choice.
- A spare phone fits two to four 35mm frames at a time. It is small enough to sit next to you on the couch.
- A laptop screen works too, tilted flat, but it scratches easily and wobbles when you lean on it.
Use the second device as the light, and the phone you scan with as the camera. In Backlit you get both: turn on light table mode on the spare phone and it shows a clean white glow that keeps the screen awake, then scan with your main phone.
Change these settings first
- Brightness to full. Turn off auto-brightness so the screen doesn't dim in a dark room.
- Warm modes off. On iPhone and iPad: Night Shift and True Tone off. On Android: Eye comfort, Night light or Reading mode off. Warm modes tint the light yellow.
- Screen stays on. Set auto-lock to Never, or use an app that keeps the screen awake while it shows white.
- Notifications off. A banner across the white screen ruins a shot. Turn on Do Not Disturb.
- Clean glass. Wipe the screen with a microfiber cloth. Fingerprints and dust show through the film.
Then open a plain white image or a white page at full screen, or turn on Backlit's light table mode.
Beat the pixel grid
Phone cameras resolve very fine detail. When the film sits right on the screen and you focus on the film, the screen's pixels sit almost in the same plane and can show as a fine grid or rainbow lines. Three fixes:
- Lift the film. Lay a clean piece of picture-frame glass on two coins at the corners of the screen, then put the film on the glass. A few millimetres of gap blurs the pixels.
- Diffuse the light. Slip one sheet of tracing paper, baking paper or a matte screen protector between screen and film.
- Check the shot. Zoom in on a test scan at 100%. If the gaps between frames look smooth and even, you are set.
Handle OLED flicker
Many OLED screens dim by pulsing the light on and off very fast. Your eyes see steady light; your camera can catch the pulses as dark bands. Keep the screen at full brightness, where most panels stop pulsing or pulse fast enough to stay invisible. If you still see bands, try a slower shutter by holding the phone steady on a stand.
Lay the film on the light
- Turn off the room lights.
- Hold the strip by its edges and lay it flat, emulsion side (the duller side) down, so the edge print reads correctly from above.
- Tape the far ends with low-tack tape if the strip curls, keeping the tape off the frames.
- Leave a little bare light around the strip. It helps your camera set exposure and gives you a clean read of the film base for the color step.
Shoot and develop
Hold your phone flat over the strip, lock focus and exposure on the film, and shoot. Then turn the negative into a positive with the film base removed: in Backlit every frame on the strip is found, cut out and developed for you, or you can try our free negative to positive converter on a single photo.
For the full walkthrough, read how to scan film negatives with your phone.
A screen or a real light box?
A dedicated LED light pad (the kind sold for tracing) gives you a bigger, evenly lit surface with no pixel grid, and a high color rendering index (CRI 95 or more) on better models. If you scan many rolls, it is a cheap upgrade. For a shoebox of family negatives, the tablet you already own does the job.