
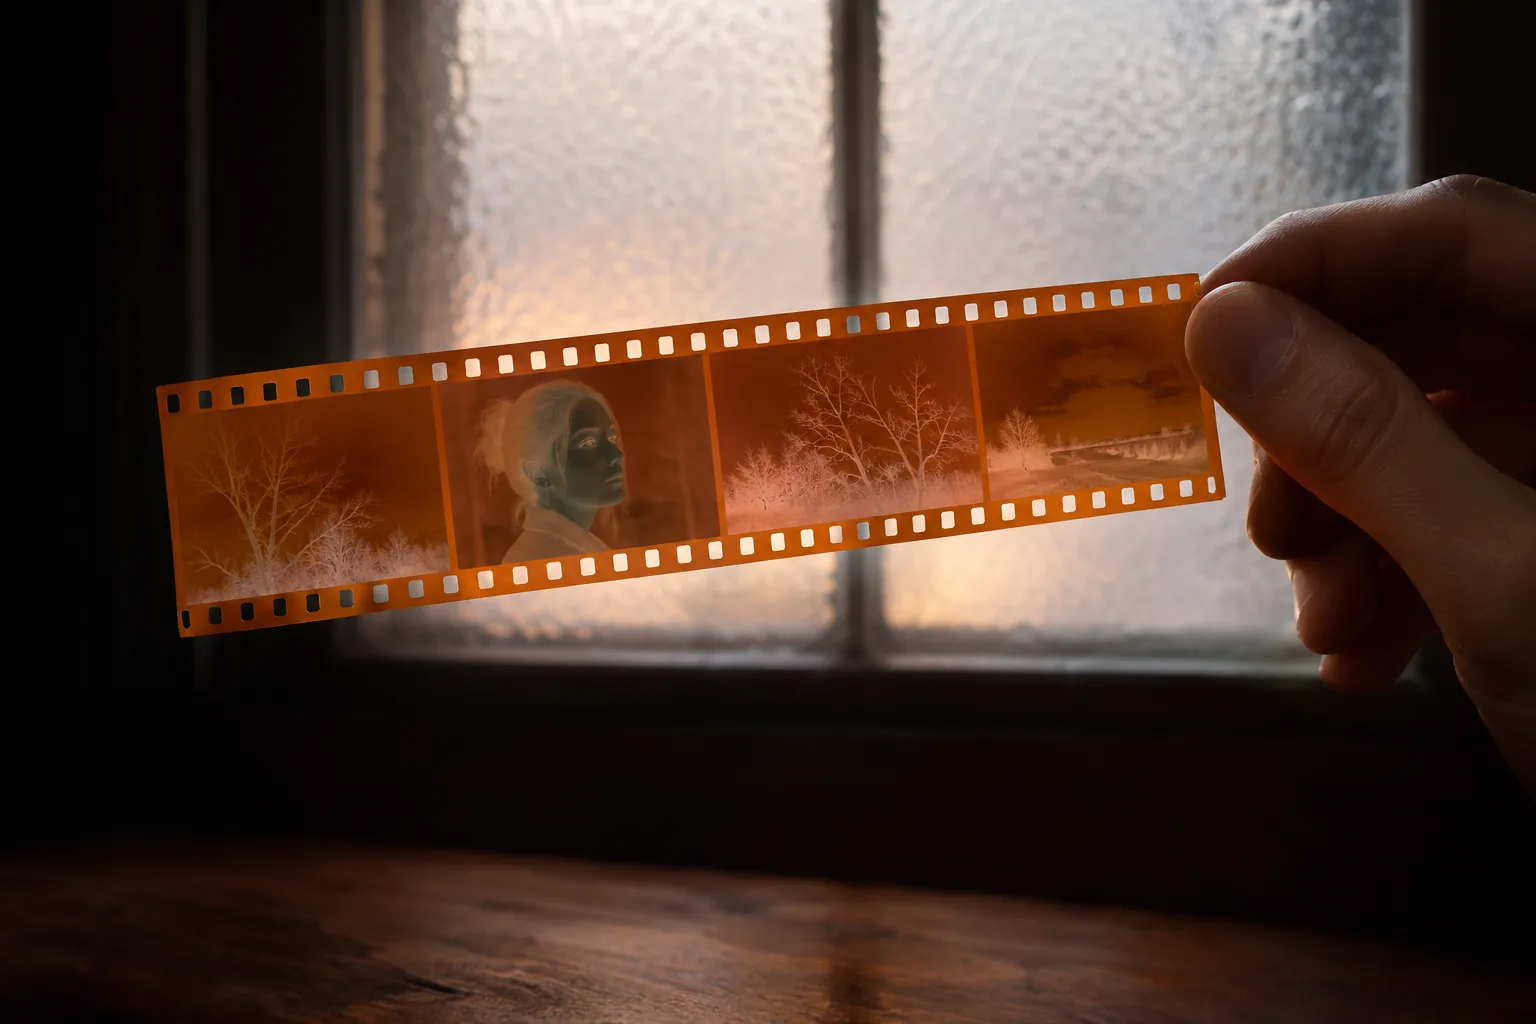
You can digitize film negatives without a scanner by photographing them over an even light and then turning each picture into a positive. That is what a film scanner does too; it just bundles the light, the camera and the inversion in one box.
Below are five ways to do it at home, from what you already own to what you might borrow, with the trade-offs of each.
1. Your phone over a lit screen
This is the fastest setup for most people, and the one we built Backlit around.
- Show a plain white screen on a tablet or a spare phone at full brightness. In Backlit, turn on light table mode on the second phone.
- Lay the strip on it, dull side down, and turn off the room lights.
- Hold your phone flat over the strip and shoot.
What you get: clean, even light and sharp frames, ready in two minutes. Watch for: the screen's pixel grid showing through the film; lift the film a few millimetres or add tracing paper. Read how to use a phone or tablet as a light pad.
2. Your phone and a window
Hold the strip flat against a bright window with no direct sun on it, ideally frosted glass, or tape a sheet of plain white printer paper to the glass as a diffuser. Shoot from inside the room with the room lights off.
What you get: free, bright, neutral light on an overcast day. Watch for: anything outside showing through clear glass (trees, rooftops), changing light as clouds pass, and the film bending away from the glass. Shoot all frames in one session so the light stays the same.
3. Your phone and a desk lamp
Point a desk lamp upward, lay a sheet of tracing paper or baking paper over it a few centimetres above the bulb, and put the strip on the paper. A plastic box lid or a picture frame glass makes a steadier stage.
What you get: a light you can use at night. Watch for: a hot spot over the bulb. Raise the paper or stack two sheets until the glow looks even. Warm bulbs tint the light yellow; the inversion step corrects most of it, but a daylight (5000 K to 6500 K) LED bulb gives you the cleanest start.
4. A camera with a macro lens
If you own a mirrorless or DSLR camera with a 1:1 macro lens, you have the best home scanner there is. Mount the camera on a copy stand or a tripod pointing straight down, put the film on a light pad, fill the frame with one negative and shoot in RAW.
What you get: the most detail and the widest tonal range of any home method. Watch for: the cost of a macro lens if you don't own one, and the time it takes: one frame at a time, plus the inversion in an editor.
5. A clip-on phone scanner
Kodak, Lomography and others sell folding boxes with a built-in light and a holder for your phone. They keep the film flat and the phone square.
What you get: a tidy, repeatable setup. Watch for: another gadget to buy, and the same inversion step as every other method.
Compare the methods
| Method | Cost | Speed | Detail |
|---|---|---|---|
| Phone over a lit screen | Free with a spare screen | Fast | Good |
| Phone and a window | Free | Fast in daylight | Good |
| Phone and a lamp | Free | Fast | Good once the light is even |
| Camera with a macro lens | High without the lens | Slow | Best |
| Clip-on phone scanner | Low | Medium | Good |
Turn every picture into a positive
Whatever you shoot with, the result is still a negative. To get a photo:
- Find the film base. That bare orange (color) or grey (black and white) film between frames is your black point.
- Set each color channel from it. This removes the orange mask of color film.
- Set the white point and the curve. The densest part of each channel becomes white, and a gentle curve brings the midtones back.
Try it free in our negative to positive converter, which runs in your browser with nothing uploaded. Or scan the whole strip in Backlit and get every frame cut out and developed in one tap.
Before you start
- Clean the film with a soft blower or an anti-static cloth; never wipe it with a dry paper towel.
- Find the frame numbers and the film name on the edge so you scan in order and label rolls correctly. Read how to read the markings on the film edge.
- Decide where the files go. Name each roll by date and place, and keep the negatives in archival sleeves after you scan them.